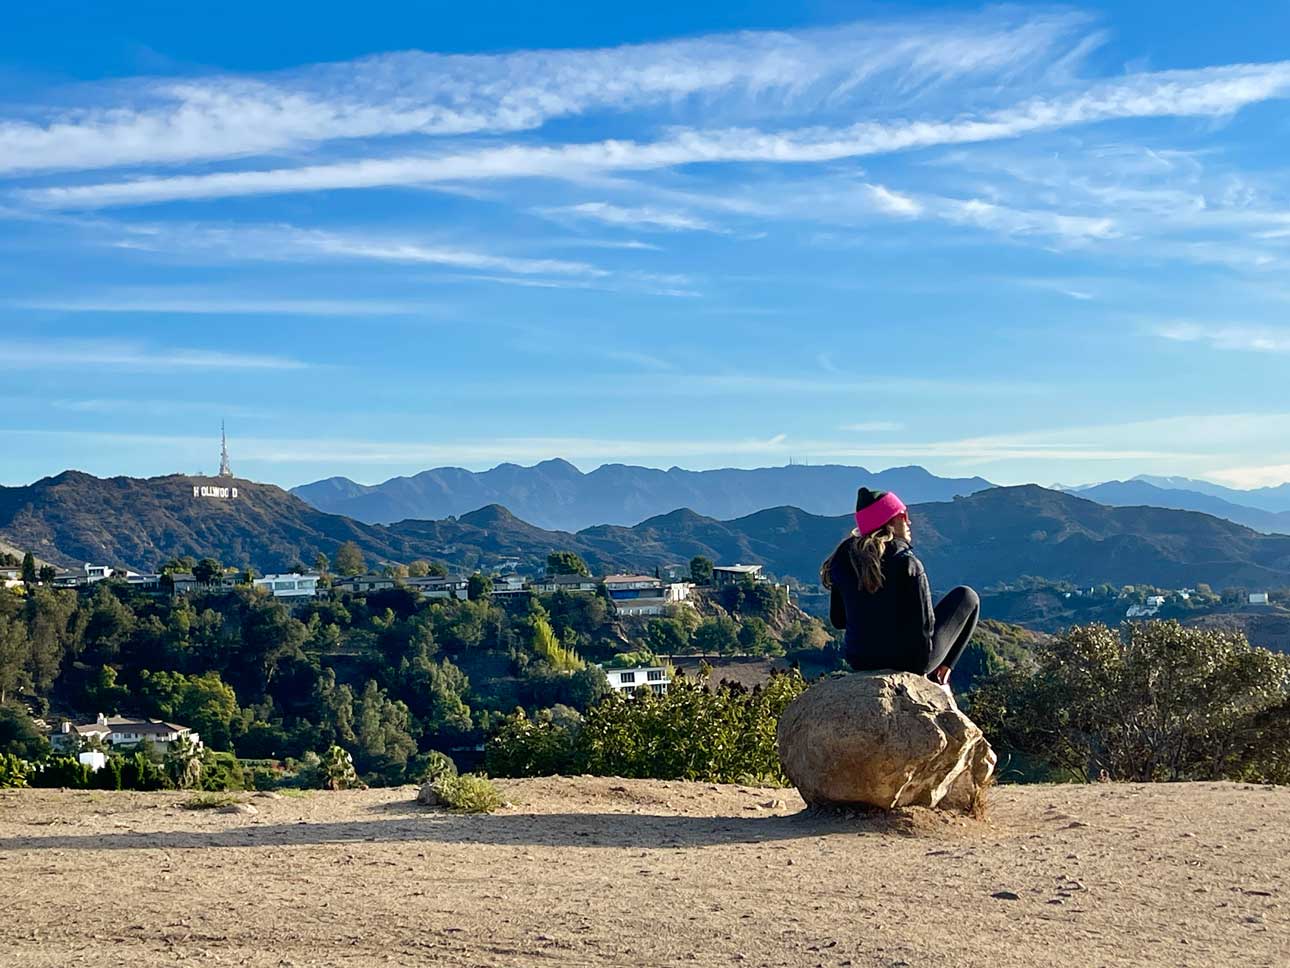
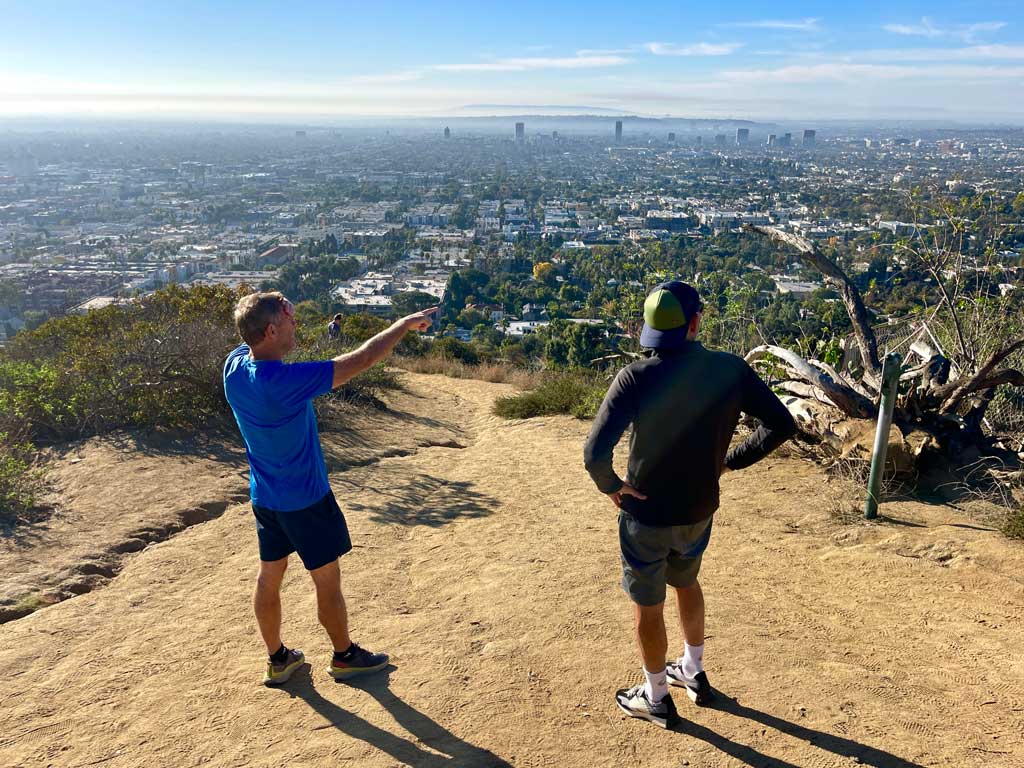
Located near West Hollywood, Runyon Canyon Park is one of Los Angeles’ most popular hiking spots. Coming from Northern California – hiking nirvana, in my humble opinion – I wouldn’t call Runyon Canyon a true nature hike, but it does offer Angelenos a welcome outdoor connection. It’s a free and convenient way to get a good workout with cool views of the Hollywood Sign, Griffith Observatory and Downtown LA.
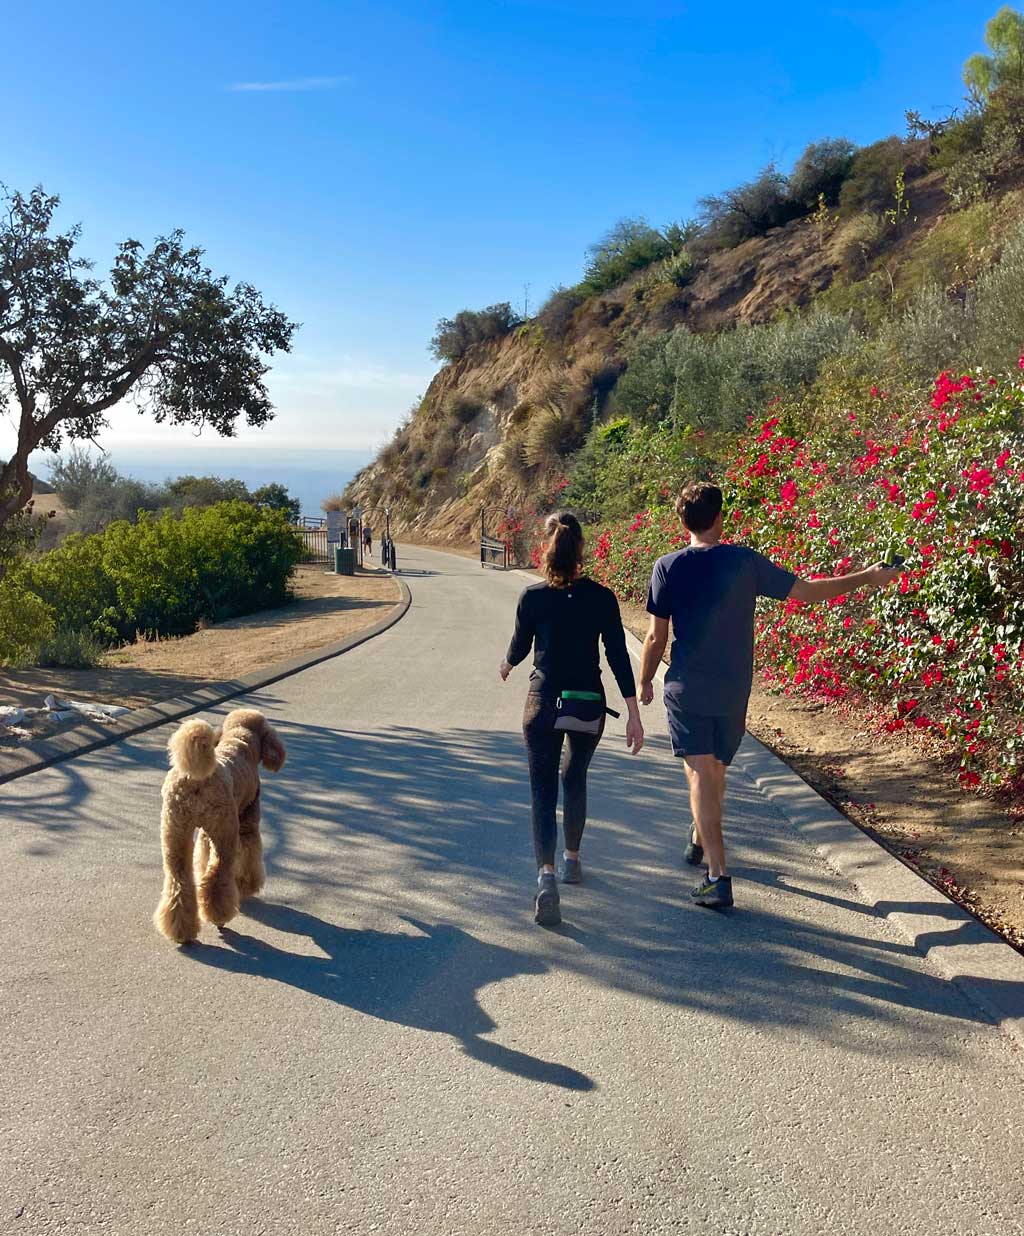
People watching is as much a sport as the trek itself. You’ll find all walks of life here, from 20-something apartment dwellers sporting the latest athleisure wear, to Hollywood execs and the occasional celebrity taking a break from their million-dollar pads tucked into the surrounding hills. The one thing everyone seems to have in common is a dog (or two or three) in tow. As one of the few LA hikes that allows dogs off leash, it can seem like a Fido frenzy at times.
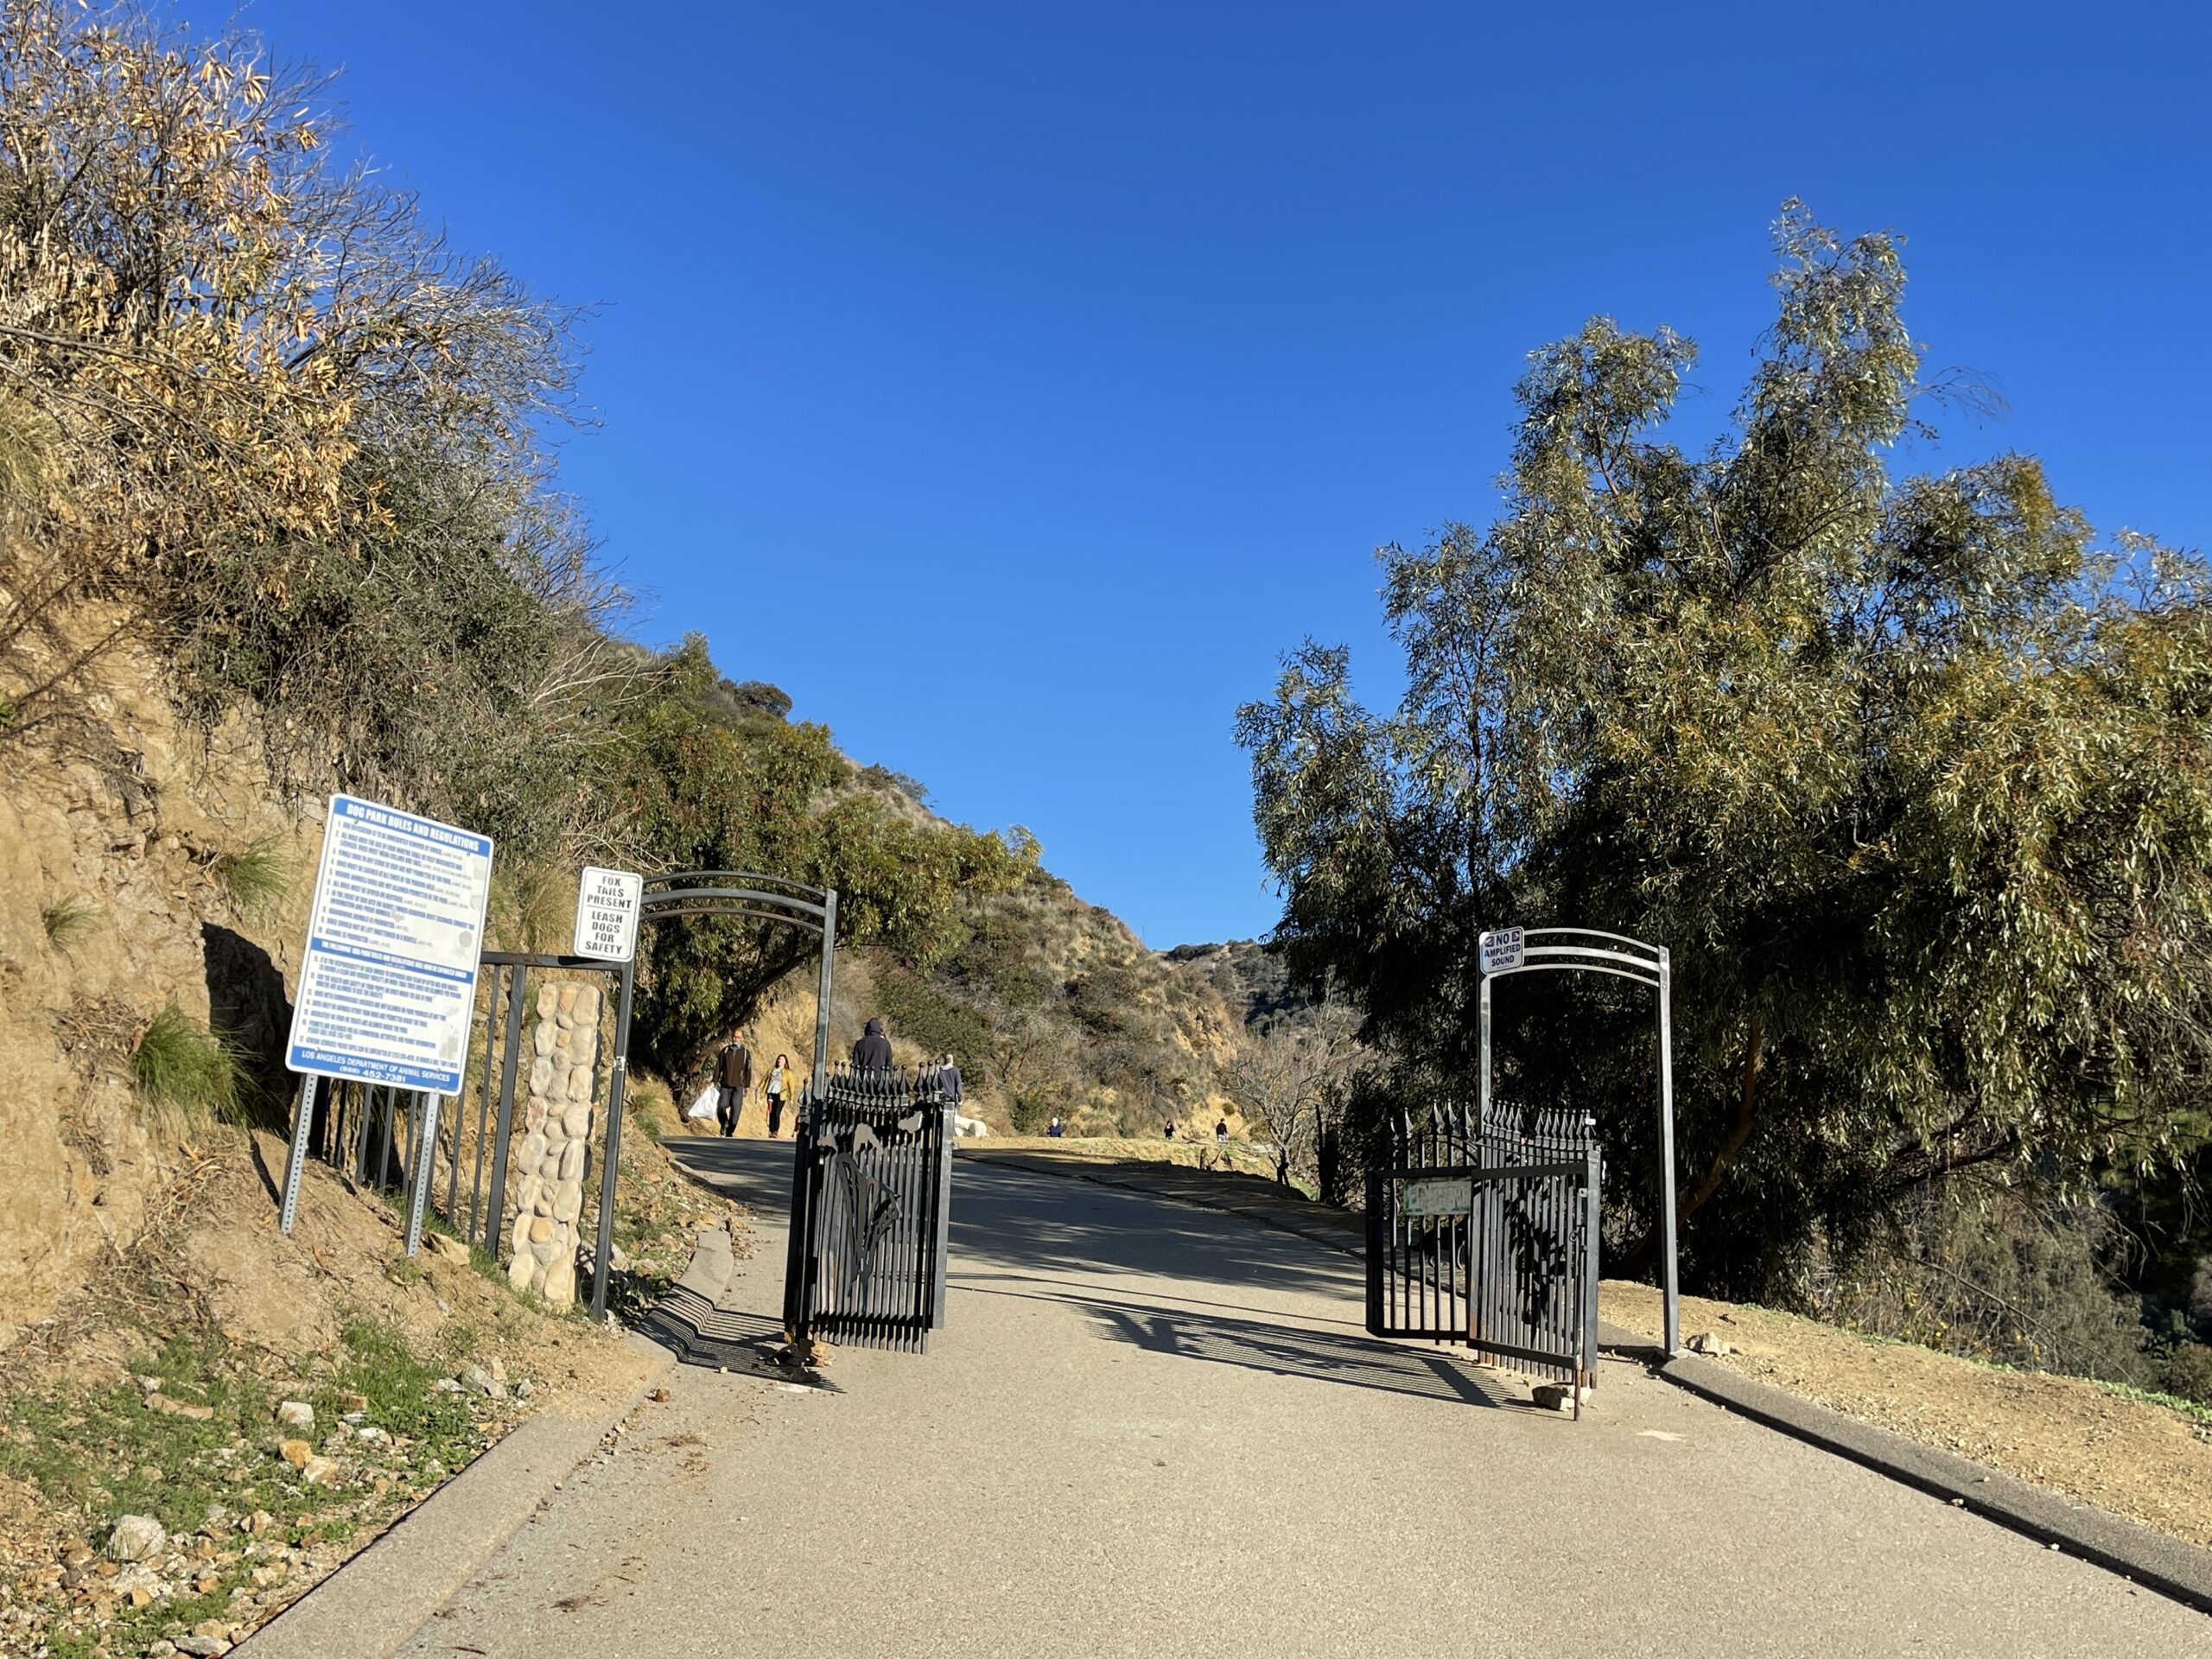
There are a couple of places to access the trail, but the most common and the one I use is the entrance to Runyon Canyon Park at the end of Fuller Ave., which is off Franklin Ave. While you can park on both those streets without a permit, finding a spot is about as challenging as getting a last-minute Saturday night dinner reservation, so be prepared to potentially circle the neighborhood for a while.
Easier Way Up: The Paved Fire Road
The fastest and easiest way to do Runyon Canyon is to take the paved fire road up and back down. It’s about a mile and a half from the Fuller Ave. entrance to the Mulholland Dr. gate – long and steep enough to be a legitimate work out but short enough that it won’t eat too much into your day. It takes about 45 minutes to an hour depending on how fast you go.
Harder Way Up: The West Trail to the East Trail Loop
The route I regularly take is the more rigorous West and East trails, or as my neighbor introduced them to me when I first moved to LA, the “goat trail” and the “stairs trail.”
To set the stage, if you’re standing in the park and looking up towards the top rim of the canyon, the West Trail is a narrow and rocky path to the left following the canyon’s western rim. The stairs trail, or East Trail, is to your right and runs along the east side of the canyon. The paved fire road winds more or less through the core of the canyon.
Basically you are making a big loop around the canyon. I always start by going up the West Trail and down the East Trail. Starting and ending at the park’s Fuller Ave. entrance gate, it’s exactly 2.7 miles and takes about an hour and fifteen minutes give or take. Sometimes I skip the East Trail and come down via the paved fire road instead. Either way, it’s a great workout.

The West Trail
After entering Runyon Canyon Park, walk past the row of bushes to the left. At the end of the bushes, you’ll see a Smokey the Bear sign. Veer left onto the wide gravel path.
Note: If you plan to go up the East Trail first, continue straight at this point instead of veering left. For both the West Trail AND the paved fire road, however, you need to go left.
Follow this path and the white wooden fence for a minute or so until the gravel turns into a paved road at an intersection. At the large trail map, turn sharply right following the paved road up. This is technically the start of the fire road, and at this point, you could simply follow it to the Mulholland Dr. gate.
For the West Trail, however, be on the lookout for a narrow path on your left right after you pass through black wrought iron gates. There’s a signpost that says W-1, although the W-1 isn’t visible until you actually turn onto the narrow dirt path.
You are now at the start of the West Trail. For another mile or so, you’ll be going up, up, up – like a mountain goat scrambling over and around rocky outcrops.
As you begin the ascent, it becomes clear that if you removed all the asphalt that now crisscrosses Los Angeles, the city is actually a mountainous desert. The first part of the West Trail has so many cacti you might mistake the landscape for Arizona! That is until you look out to see Downtown LA’s impressive skyline. Also in view are the “mini-skylines” of Mid-Wilshire, Century City and Westwood.
Not that it’s hard to get lost, but you’ll know you’re going the right way by the numbered posts. Each one is a good excuse for a brief stop to enjoy the view and little breather.
I like to take a water break at W-6, which is atop a large plateau with a sweeping vista of the Hollywood sign and the Griffith Observatory, along with the downtown skylines mentioned above, all the way to the Pacific Ocean. On super clear days, you can even see Catalina Island offshore.
Signpost W-6 to W-7 is about three quarters of a mile long and is in my opinion one of the tougher parts of the hike. It starts benignly enough on a flat, wide section of trail, but then quickly turns into a steep scramble up an intimidating rocky summit. You’ll definitely feel like a mountain goat on this part!

As you’re walking along the flat section (and enjoying a break from the earlier climb), look to your right for a nice view of both the paved fire road and the East Trail on the other rim of the canyon. You’ll be going down that soon enough!
Immediately before you reach signpost W-8 (which like most of the signs has graffiti all over it), you need to turn sharply left to stay on the trail. This turn is not particularly obvious, but just know that if you have reached the W-8 sign, you’ve gone too far.
The left turn will take you on a brief and tricky descent around the backside of the rocky outcrop and then onto a wide, flat segment of trail. This is where I almost stepped on a rattle snake during one of my summertime hikes, so I’ll take the opportunity here to warn you, “Be on the lookout for rattlesnakes!”

At this point you’ll be almost a mile into the hike and there will be a large house (apartment complex?) on the hillside directly in front of you. The trail used to go through the property; however, there’s now a fence around it, and the trail has been rerouted.
As you pass the W-9 marker on your left, with the house directly in front of you, follow the path that veers to the right and cross the wooden bridge as you make your way around the house and to the top rim of the canyon. There are a couple of short but steep inclines to contend with along this segment, but once you reach the W-10 signpost, you’re done with all the uphill stretches. Phew!
You’ll now be on a wide gravel path where you can catch your breath and enjoy the views. On your right just below you’ll see the paved fire road and next to it a stone labyrinth. You’ll also approach a fork in the road. Stay to the right, heading down towards the labyrinth and the paved road, with the LA skyline directly in front of you.
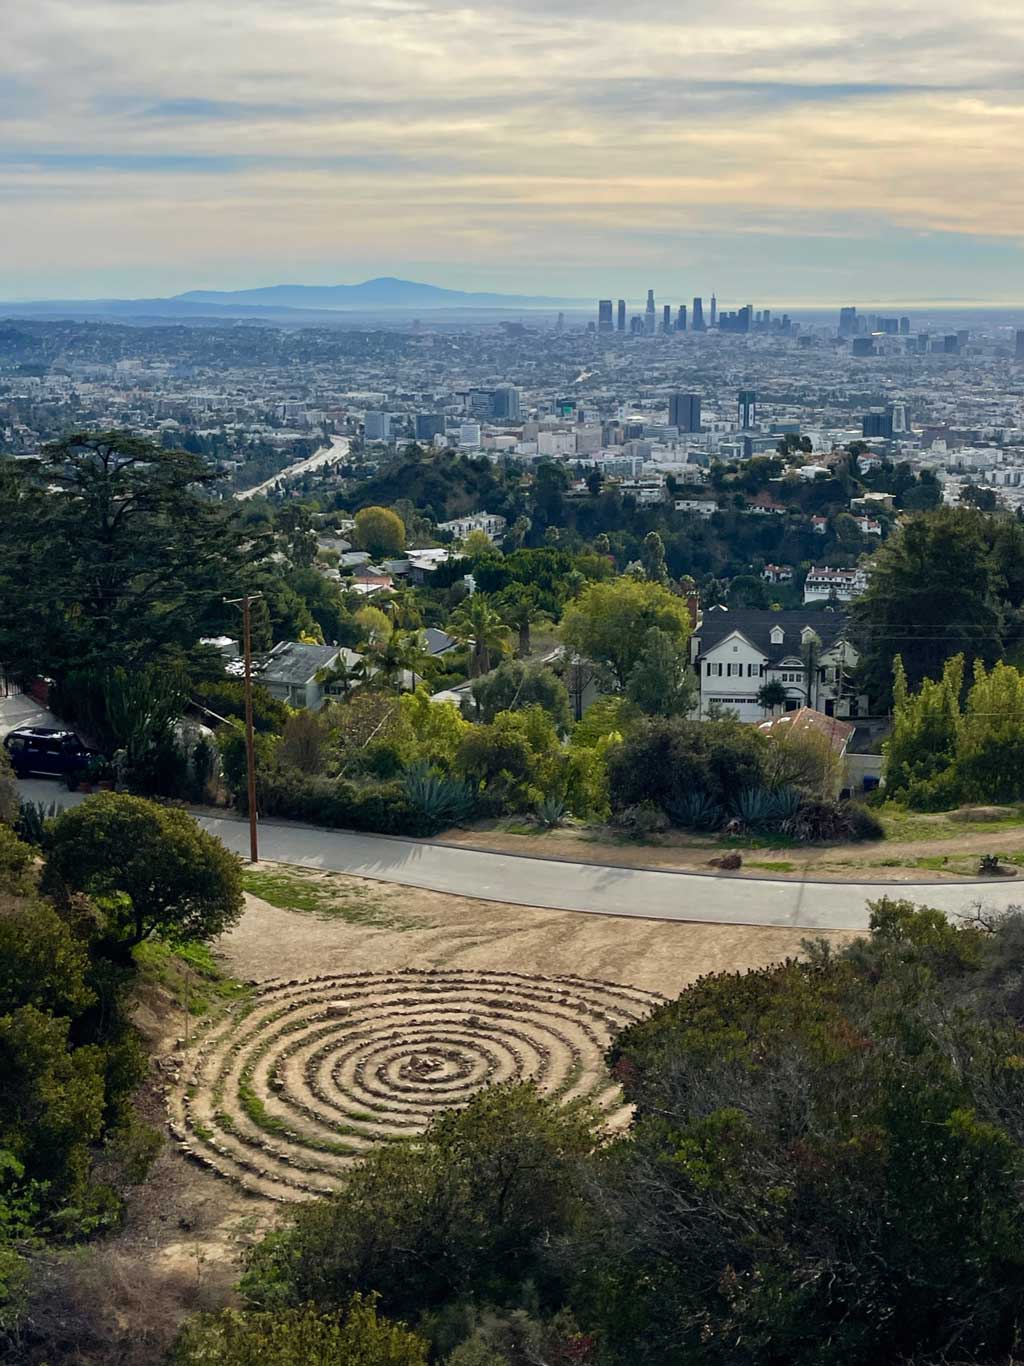
The Paved Fire Road
At 1.4 miles – about halfway through the hike – the West Trail ends at the paved fire road, marked with a signpost, F-7. If you were to take a left onto this road, you would come to the Mulholland Dr. gate, just a few minutes further up. But to stick with the hike, turn right and enjoy a leisurely stroll along the fire road for about a third of a mile. You’ll pass a couple of residences and some nice spots for quiet reflection, including a bench at the F-6 marker and a boulder just beyond that.
Shortly after the boulder, you’ll pass through another iron gate at roughly the 1.75-mile mark. At this point, you have a decision to make – continue down the paved fire road back to the start or take the East Trail to the bottom. Either way, you end up in the same place.
The East Trail
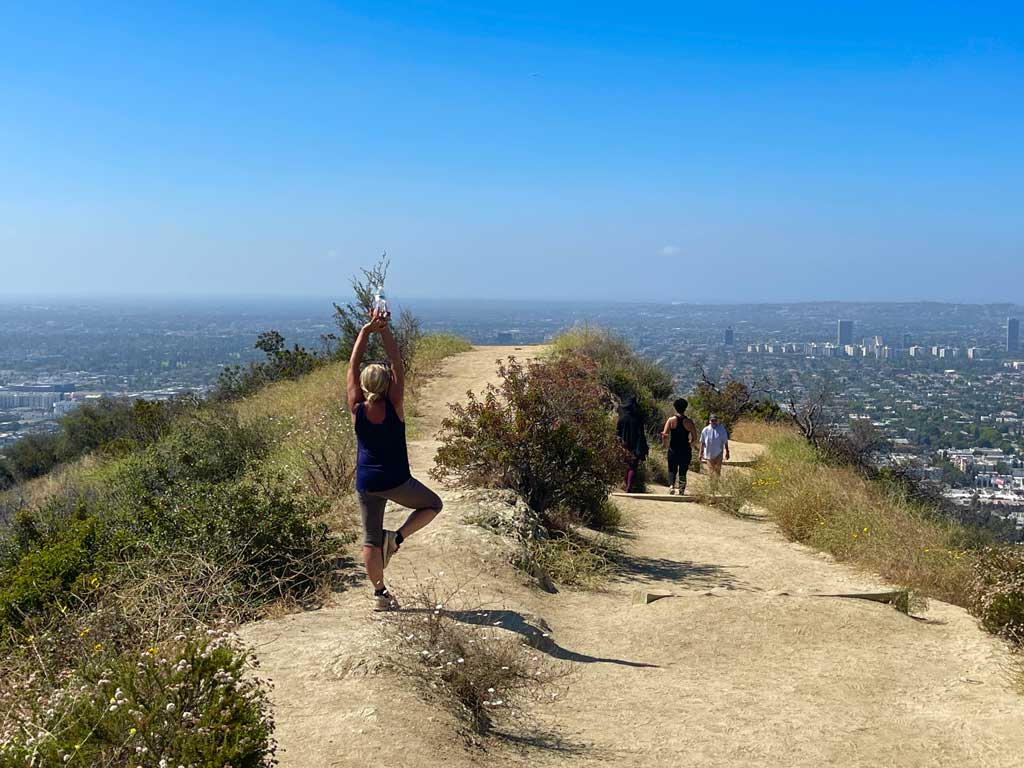
For the East Trail, veer left off the paved road onto a wide gravel path immediately after going through the gate. You’ll walk through an open area with benches and maybe see groups of people doing yoga or taking pictures, and dogs running about playfully.
As the trail narrows, you’ll start your ascent down the canyon, shimmying over rocks and eventually coming to the infamous stairs. Ok, they may not be infamous, but they are a bit challenging. Some of the stairs are so high you have to practically sit to get down them.
This is the toughest part of the East Trail, but it only lasts for about half a mile. The stairs lead down to a wide, open area with more benches and incredible views. For reference, you’ll be at signpost E-3 with only another half a mile to the end.
After you stop to enjoy the views, follow the wide gravel path that winds gently down to the bottom. As you reach the park area, the path transitions to pavement with palm trees lining the way back to the Fuller Ave. entrance gate, 2.7 miles later.
Congratulations, you’ve completed the Runyon Canyon West to East Trail Loop!
