 If you love travel and photography, like I do, you’ll need a good strategy for managing your photo taking devices and protecting images while you’re on the road. On my recent three-week trip to Southeast Asia, here’s what I packed – and some things I left out – to ensure an amazing (and safe) collection of memories:
Camera: As much as I agonized about losing or damaging my Canon DSLR, I couldn’t imagine going on a trip like this without it. Southeast Asia is relatively safe for tourists, so I relied on vigilance, common sense, and my compact Tamrac camera backpack to keep my camera equipment safe and sound. If you’re worried, consider purchasing travel insurance to cover the loss of camera and equipment.
One thing I didn’t think about that I probably should have, given that we were traveling during the early monsoon season, was a camera rain cover. Any exposure to the elements will require extra care, so be sure to have a place for your equipment’s safe keeping.
Lenses: Like many photography enthusiasts, my lenses are worth more than my camera, so this is the part that most concerned me before my trip. To avoid the potential devastation of losing all my lenses at once and to minimize carry weight, I reluctantly decided to bring just one, my Tamron 18-200mm adjustable telephoto lens. While it would have been nice to also have a wider aperture lens for low-light situations (and a wide-angle and macro, for that matter!), the 18-200mm is a versatile range for capturing great people and wildlife shots. In addition to one really nice lens, you could also bring along the less-valuable, lighter-weight lens that came with your camera. That way if something were to happen to your good lens, you’d at least have something to fall back on without risking two valuable lenses.
Whatever lenses you have, be sure to protect them and keep them clean. I have UV filters for each of my lenses and cleaning equipment, including an air blower (which I did not bring on the trip), a brush, and micro-fiber cloth or lens tissue.
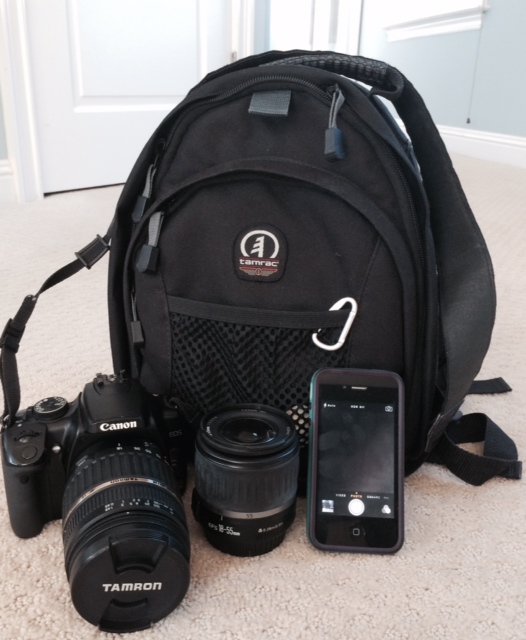 Smart Phone: For the many times when I just wanted to snap some fun pictures or videos for immediate sharing, my iPhone fit the bill. The downside was that my phone at the time had only 4GB of storage, and I didn’t have enough space for all the photos and videos I was taking. (See “Media Storage and Batteries” for some solutions.)
Photo Editing Apps: Truth be told, I’m more of a purist and prefer to either take photos right the first time or fix them later on my laptop with Photoshop Elements. Even so, my iPhone is packed with lots of fun editing apps, mainly used by my kids. Some favorites are Aviary, FX Photo Studio, Camera+, Afterlight, and of course, Instagram. I’ve heard good things about the $4.99 PhotoShop Touch app, which is the most robust mobile version of the popular desktop program. I also have an app called “Magic Hour” that uses GPS to identify your current location’s “golden hour”, which is the first and last hour of sunlight during the day, when lighting is softer and optimal for taking pictures.
Media Storage and Batteries: There’s nothing worse than being on a day-long excursion far from anything even remotely resembling an electrical outlet and getting the dreaded “Low Battery” or “Storage Full” message. For this trip, I knew I’d be taking A LOT of pictures, so several weeks before leaving I ordered an extra battery pack to keep in my backpack and two extra media cards to make sure I’d have enough storage. This is particularly important if you intend to shoot in RAW format.
I also discovered a service called Eye-Fi (and there’s another called Transcend, and I’m sure others) that allows you to use a special memory card to wirelessly transfer photos from your camera to a smart phone, tablet, or computer. Unfortunately my camera (a somewhat older model) is not compatible with the Eye-Fi card, so I was out of luck. With DropBox on my iPhone though, I was able to sync my phone pictures to the cloud and free up space for more images.
And just recently, Flickr, which has actually been around longer than the iPhone, upped the ante, by releasing an update to its iOS application that allows users to automatically upload their photos to Flickr’s free terabyte of cloud storage. Now that’s a lot of pictures!
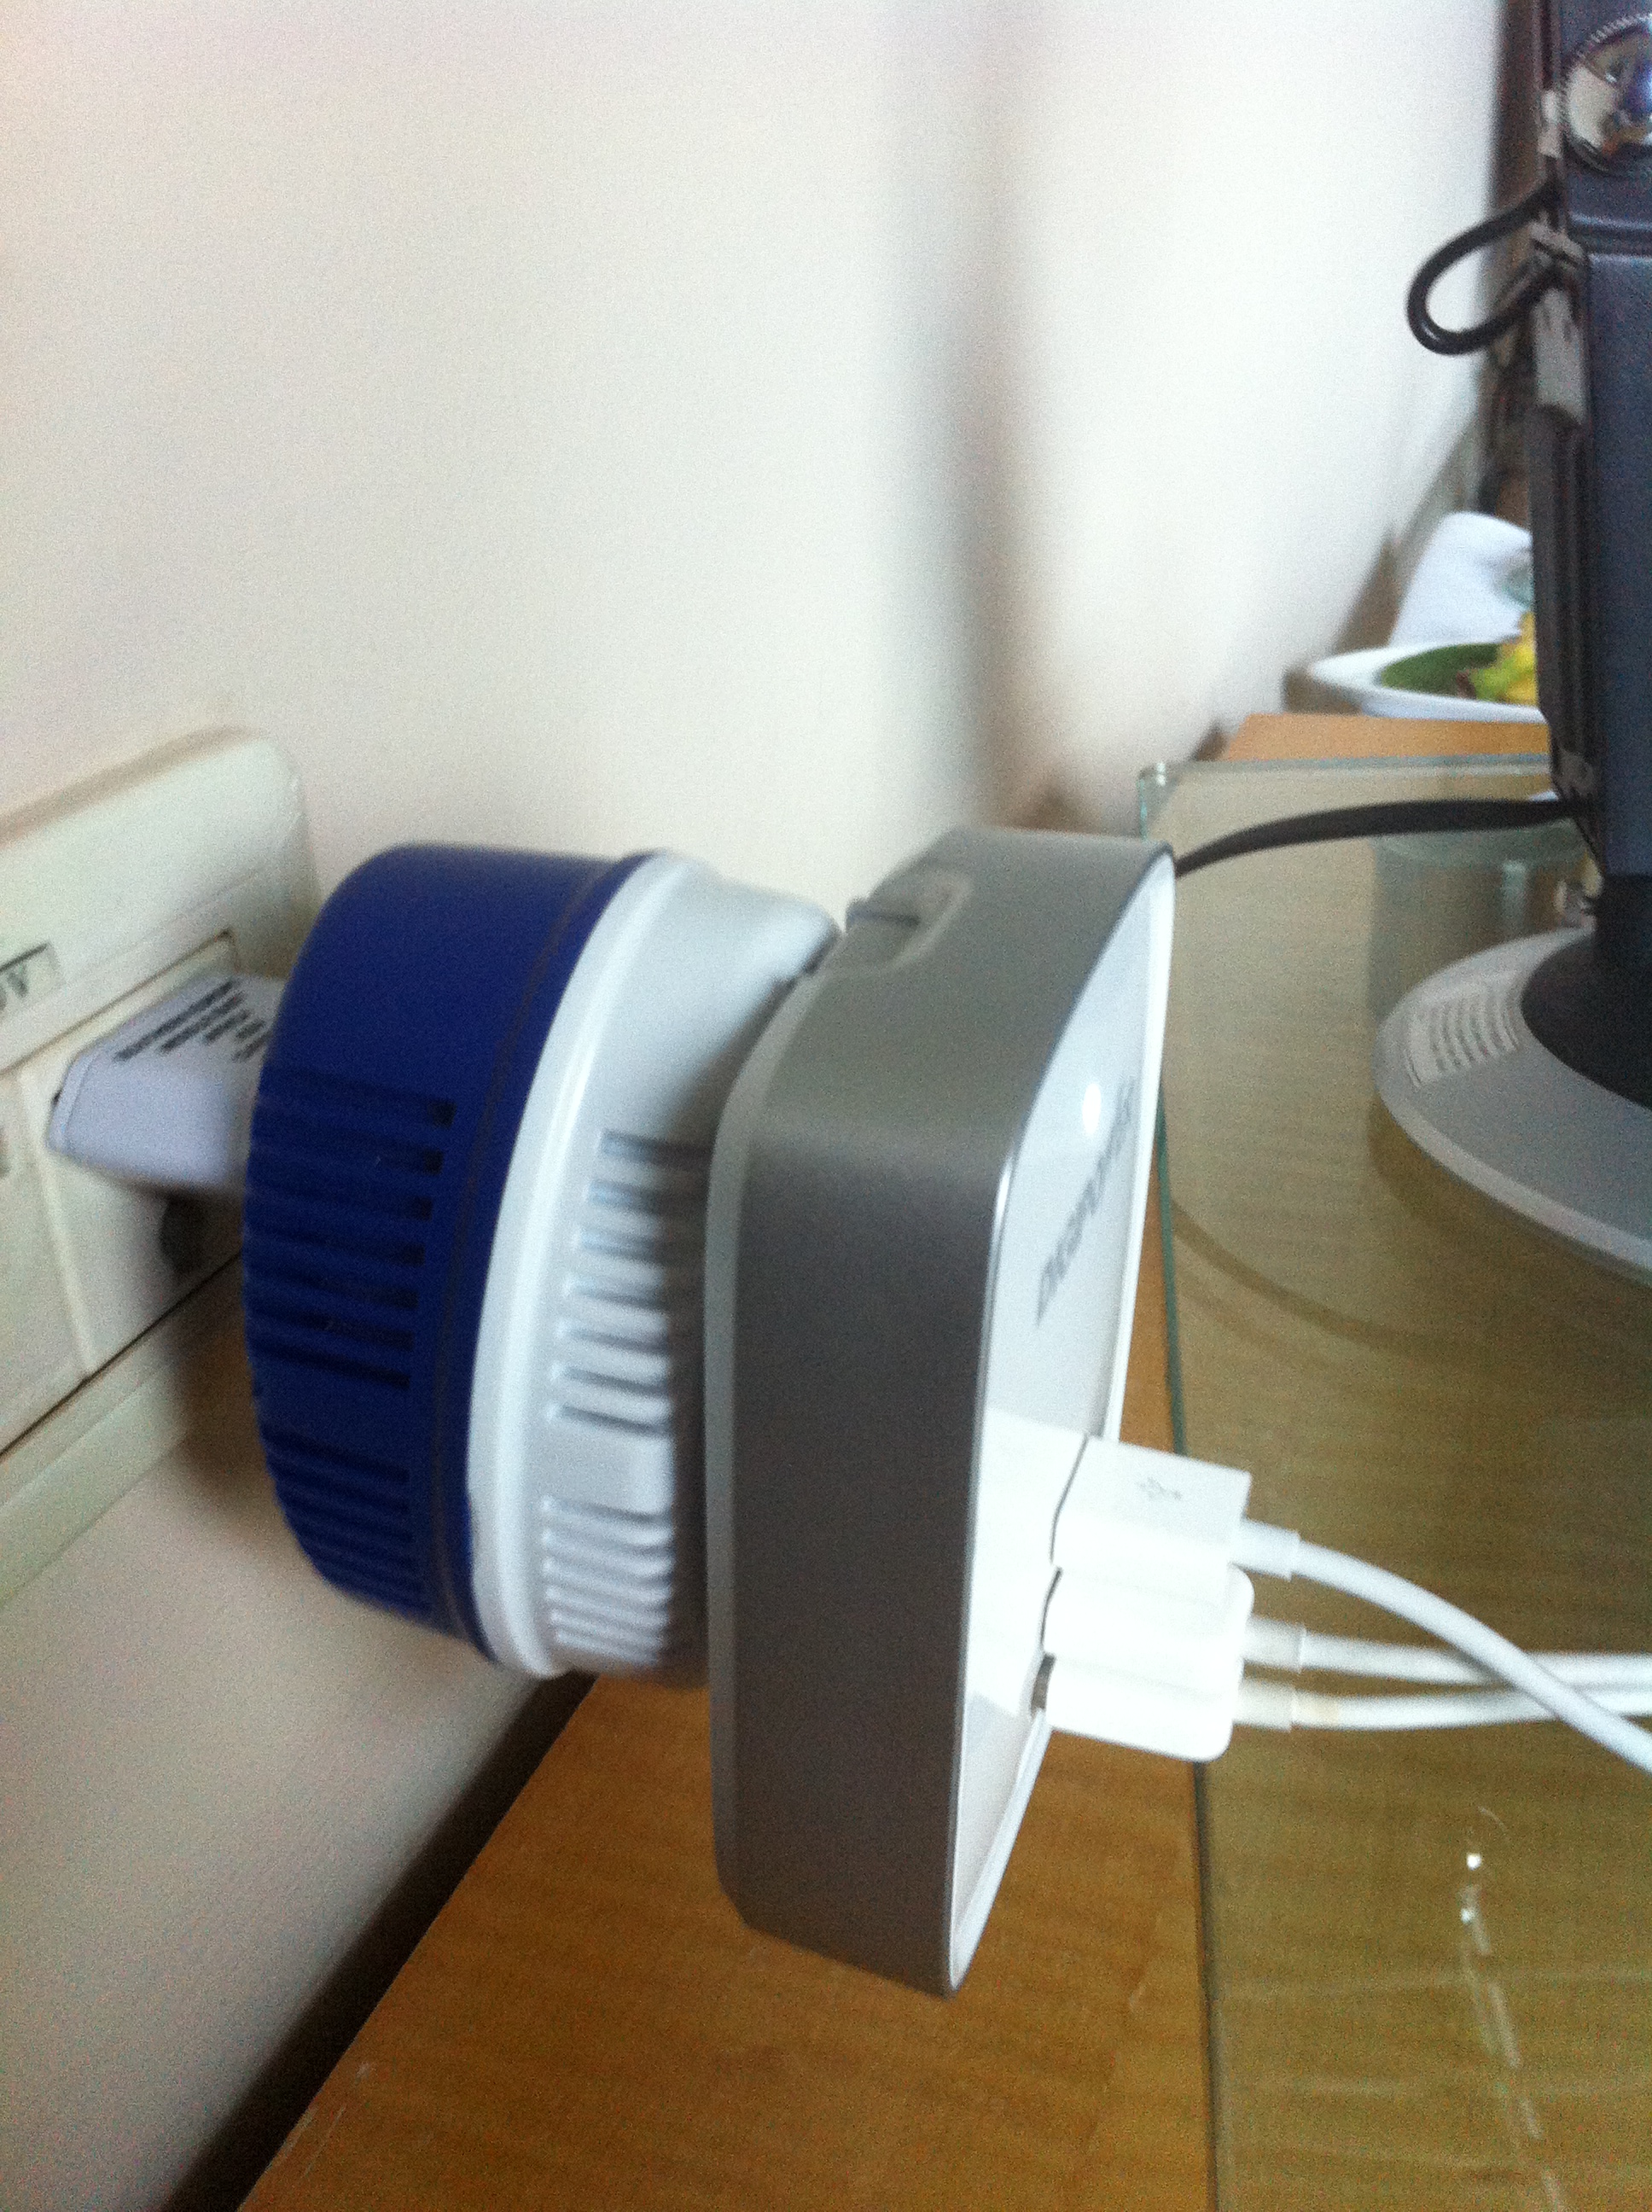
We were able to charge up to four devices at once by attaching the multi-port charger I bought at The Container Store to our electrical adapter/converter.
Chargers: The downside of lugging around all this great technology on vacation is that you need a way to keep everyone’s phones and cameras charged, and usually you’re stuck having to do it all at the same time. Whenever we travel I keep all of our charging devises and cords in a dedicated “gadget bag” so they don’t get lost. For this trip, I picked up a multi-port charger for about $25 so we could charge several devices at one time. This gadget proved to be the hero of our trip and is truly invaluable if you’re travelling out of the country and using a single adapter/converter.
So, with all this stuff to tote around, what did I (reluctantly) decide to leave behind?
Tri-Pod: I love using my tri-pod, especially for early-morning and twilight landscapes, but for this trip, we were moving around so much, I couldn’t fathom how I’d manage to lug it around. Plus, this was a family vacation first and foremost, and using the tri-pod would simply have been too time-consuming during our daily sight-seeing adventures. While I love taking serious photos (and lots of them!), I wanted to make sure that I wasn’t stuck behind the my camera the whole time and missing out on the experience of seeing things with my own eyes and through the eyes of my children.
Multiple lenses: I’m sure many people would disagree, but in my opinion, being able to switch out lenses is not worth the hassle of having to lug them all around or the risk of losing them, unless your trip is truly for the practice of photography. As long as your one lens is versatile, you should be ok.
Tablet and laptop: I was on the fence about this one, especially with respect to my tablet. I thought it would be cool to be able to transfer my photos (from the iPhone using DropBox with a wi-fi connection) to my iPad for better viewing, not to mention all the other convenient, non-photo uses for a tablet. In the end though, it seemed like more work and added weight than it was worth. If my iPad had built in wi-fi, I might have reconsidered, but without the wi-fi capability, I didn’t see a lot of added value in having it.
I’m happy to report that all 5,000+ photos I took made it back from Southeast Asia as safely and soundly as our family did. They’ve been uploaded to my hard drive and saved to the cloud using Carbonite. In the three months since our trip, I’ve managed to trash the truly bad images and cull out the best of the bunch. Final step will be to create a photo book of trip highlights, something I’ll hopefully be able to get done before our next big adventure!